Essastone benchtop guide (SEQ): colours, pricing, 20mm vs 40mm, and what to expect
Essastone benchtop guide (SEQ): colours, pricing, 20mm vs 40mm, and what to expect
Essastone is a popular engineered-stone benchtop choice in South East Queensland. To get the best result, focus on two things: choose a colour in your real home lighting, and lock in practical details early (thickness, joins, cut-outs, and access).
We cut and install stone benchtops across SEQ. This guide covers the on-site details many people only learn after cabinetry is installed and templating is booked.
Table of contents
- Essastone colours (how to choose well)
- What affects pricing
- 20mm vs 40mm (mitred edge)
- Edge profiles
- Joins and join placement
- Sinks, cooktops, and cut-outs
- Splashback options
- Process: template → fabricate → install
- Cabinet support and substrate
- Care and maintenance
- Warranty
- Engineered-stone regulations and silica safety
- Brand comparisons (high level)
- FAQs
For the full Essastone range and current availability, see: Essastone® benchtops and colours.
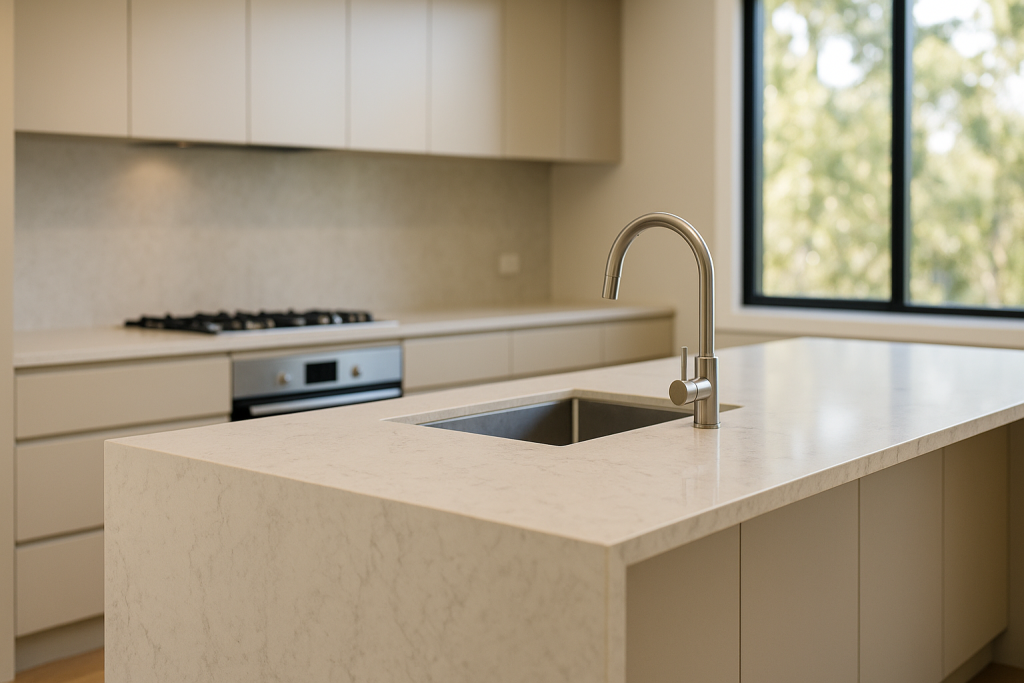
What Essastone is (and why people choose it)
Essastone is a quartz-based engineered stone used for kitchens, vanities, and laundries.
It’s a factory-made slab, so the colour and pattern are usually more consistent than many natural stones. People choose it when they want a predictable look that’s easier to design around.
Why Essastone is popular
- Wide colour range to suit cabinets, floors, and splashbacks
- Consistent patterns (helpful for joins and waterfall ends)
- Practical for busy homes with the right care
Essastone is often compared with Caesarstone and Smartstone. In most real projects, the choice comes down to the exact colour, what’s in stock, and how it looks in your home lighting.
To compare brands we supply and install: our full stone range.
Essastone colours (how to choose well)
Most colour regret happens when you choose from a small sample under showroom lights. Then the full slab arrives and looks different next to your floors, cabinets, and windows.
If your home gets strong daylight (common in SEQ), check your sample in that same light. Also check it in the evening under your actual LEDs.
Colour checklist (use this before you commit)
- Bring a cabinet door sample (whites can clash)
- Check the sample in daylight and at night
- Stand back 2–3 metres (veining changes at distance)
- Compare with flooring, splashback tile, wall paint, and handles
- Decide what you want the benchtop to do:
- Hide crumbs and daily marks: mid-tones or soft patterning
- Keep it minimal: clean whites and pale greys
- Make the island a feature: strong veining/contrast (plan joins carefully)
Site details that affect the final look
- Slab variation is normal. Batches can shift slightly.
- Veining is directional. This matters on long runs and waterfall ends.
- Finish changes the look. Polished reflects more. Honed looks softer.
If you’re choosing a veined colour, think about how it will look across:
- a long straight run
- a waterfall panel
- the area around a sink cut-out (close-up viewing)
Polished vs honed (matte)
Many colours come in polished and/or honed finishes, but it varies by range.
Before you decide, confirm:
- the colour is available in your preferred finish
- the lead time (some finishes are not stocked as heavily)
Check current colour and finish availability here: Essastone® benchtops and colours.
SEQ and coastal homes: what you notice after week one
Bright, open-plan kitchens suit light colours and can feel bigger. The trade-off is that very clean whites (especially polished) can show fingerprints, smears, and raking light from windows.
If your kitchen is high-traffic, many people prefer a warmer white, light grey, or gentle pattern because it’s more forgiving.
Carrara-style looks (without marble maintenance)
Carrara-style colours are popular because they suit timber, white, and greige cabinetry.
Two tips that prevent surprises:
- Vein scale matters. Subtle on a sample can look bold on a 3–4 m island.
- Expect variation. Veining won’t match the sample exactly.
Want real examples? See recent benchtop installs in our gallery.
What affects Essastone pricing
Essastone pricing usually isn’t a simple per-metre figure. In most kitchens, the final cost is driven by fabrication and installation details, not just the slab category.
That’s also why online “price lists” can mislead. Two kitchens can be similar in size, but one might need extra joins, more cut-outs, or be harder to access.
Main pricing drivers
- Slab colour/category
- How many slabs you need (large islands can push you into an extra slab)
- 20mm vs 40mm look (mitred edge)
- Number and length of joins
- Edge profile choice
- Cut-outs (sink, cooktop, tap holes, pop-up power)
- Waterfall ends
- Splashbacks (upstand vs full-height)
- Access conditions (stairs, narrow entries, lift bookings, parking/loading)
- Removal/disposal of old benchtops (if required)
- Location and lead times (including stock availability)
SEQ access reality check (Brisbane + Gold Coast)
Access often affects both cost and join planning, especially for:
- apartments with lift bookings and building rules
- tight stairwells and narrow hallways
- limited street parking or timed loading zones
In tight situations, it can be safer to install the job in smaller sections. That can mean extra joins, so planning matters.
If you’re in an apartment or complex, check early:
- lift size and booking process
- loading rules and hours
- whether protective coverings are required
What to send for a fast, accurate quote
- Kitchen plan (PDF is fine)
- A few photos (including access)
- Preferred colour(s)
- Sink type (undermount, topmount, farmhouse)
If you know your cooktop model or want full-height stone splashback, include that too.
Request a quote here: Contact / Quote.
20mm vs 40mm (mitred edge)
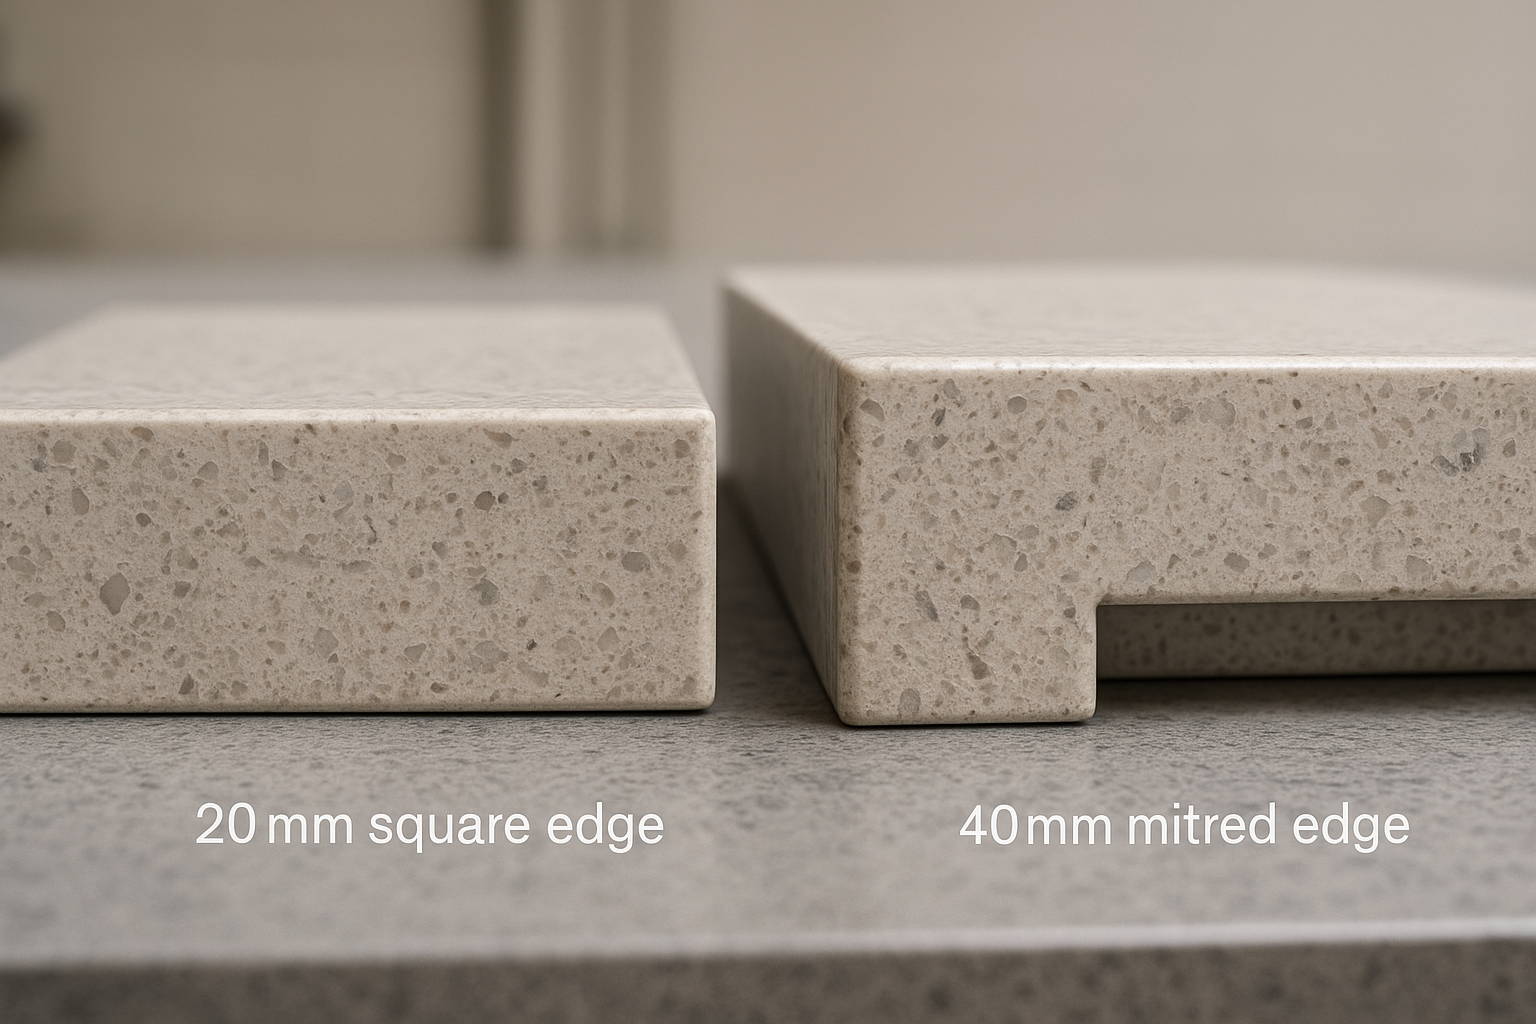
Most people asking for “40mm Essastone” mean a 40mm look made with a mitred edge. This is usually two 20mm pieces joined to create a thicker front edge.
What changes in practice
- 20mm: lighter, simpler handling, cleaner modern look
- 40mm mitred look: heavier and more complex to fabricate and install
If you have stairs, narrow side access, or apartment lift limits, mention it early. It can affect how the job must be broken into pieces.
Look and style
- 20mm: suits flat-panel cabinetry and minimal lines
- 40mm look: suits shaker/classic kitchens, or when you want a stronger feature edge
Cost
Mitred edges often cost more due to:
- extra labour (mitre cutting, polishing, assembly)
- extra material
- more workshop time
- higher install complexity
Waterfall ends
Both thickness options work with waterfall ends. Thickness affects:
- whether the waterfall needs a mitre build-up
- where joins land
- how vein direction is matched (top to panel)
Join visibility
- 20mm: simpler edge, joins can be easier to disguise
- 40mm mitred: more visual detail at the front edge, so alignment matters more
Edge profiles
Edge profile changes both the look and how the bench feels day to day.
If you have kids, tight walkways, or stools close to the island, a softened edge is usually more practical.
Common edge profiles
- Pencil round: small radius, still modern
- Bevel: neat chamfer detail
- Shark nose: stronger modern profile
- Ogee: classic profile for traditional kitchens
Availability depends on the fabricator, colour, and thickness.
Joins and join placement
Most kitchens need at least one join, especially with long runs, L-shapes, or large islands.
The goal is straightforward: solid support underneath and a join that doesn’t stand out.
Where joins commonly go
We usually aim for joins:
- away from main sightlines (not centred on the island front if possible)
- near natural breaks (corners, end panels, changes of direction)
- positioned around cut-outs based on slab yield and strength
Join placement rules of thumb
- Avoid joins over dishwashers where possible.
- Avoid joins running through cooktop cut-outs where possible.
- Don’t place a join on a thin “bridge” of stone near a cut-out.
- Plan L-shapes carefully (internal corners can be stress points).
Colour and vein matching
- Speckled/concrete looks: joins usually blend more easily
- Veined colours: need deliberate vein planning so it looks intentional
Why joins can stand out
Joins can be more visible with:
- strong daylight or raking light
- polished finishes
- high-contrast veining
- cabinetry or substrate that isn’t level
Joins are bonded with stone adhesives, and seams can be tinted to suit the base colour. Even so, lighting and pattern have a big impact.
Sinks, cooktops and cut-outs
Cut-outs affect both function and fabrication timing. For accurate templating and cutting, we need the correct appliance specs before fabrication.
If you’re still choosing appliances, it’s usually better to pause than rush a cut-out.
Undermount vs topmount sinks
- Undermount: clean look and easy wipe-down into the bowl, but the underside lip needs regular cleaning.
- Topmount: simpler and more forgiving (the rim covers the cut edge). Often a good renovation choice.
Farmhouse (apron) sinks
Farmhouse sinks can look great, but they change cabinet and support requirements.
Plan early because:
- fixing methods vary by model
- cabinetry sizing must match the exact product
Tap holes and accessories (confirm before templating)
- main tap (including large-base mixers)
- filtered water tap
- soap dispenser
- pop-up or flush-mount power
Changes after fabrication are often difficult or not possible.
Drainer grooves
Pros
- seamless look
- convenient for daily use
Things to know
- can show water spotting (depends on water and cleaning habits)
- channels need regular cleaning
- you may still get small pooling if the bench isn’t wiped
Cooktop cut-outs
We plan around:
- manufacturer clearances
- sensible corner radiuses (to reduce stress)
- safe spacing to joins and edges
- realistic heat use
As a habit, avoid placing joins and thin stone sections right beside high-heat zones. Always use a heat pad for hot cookware.
Splashback options
Answer first: Upstands are simpler and cheaper. Full-height stone looks premium but needs more planning.
Stone upstand (low splashback)
An upstand is a short strip along the wall.
- clean and simple finish
- usually more cost-effective
- simpler power point and join planning
Full-height stone splashback
A full-height splashback runs from the benchtop up to overhead cabinets or the rangehood.
Plan early because:
- power points and switches must be locked in
- joins may be unavoidable (slab size, wall length, access)
- large pieces need careful transport and installation
Stone splashbacks are grout-free and easy to wipe down, but join lines may be visible depending on layout.
Process: template → fabricate → install
Most projects follow this sequence.
1) Quote (usually from plans)
We price from your layout, selections, and site details.
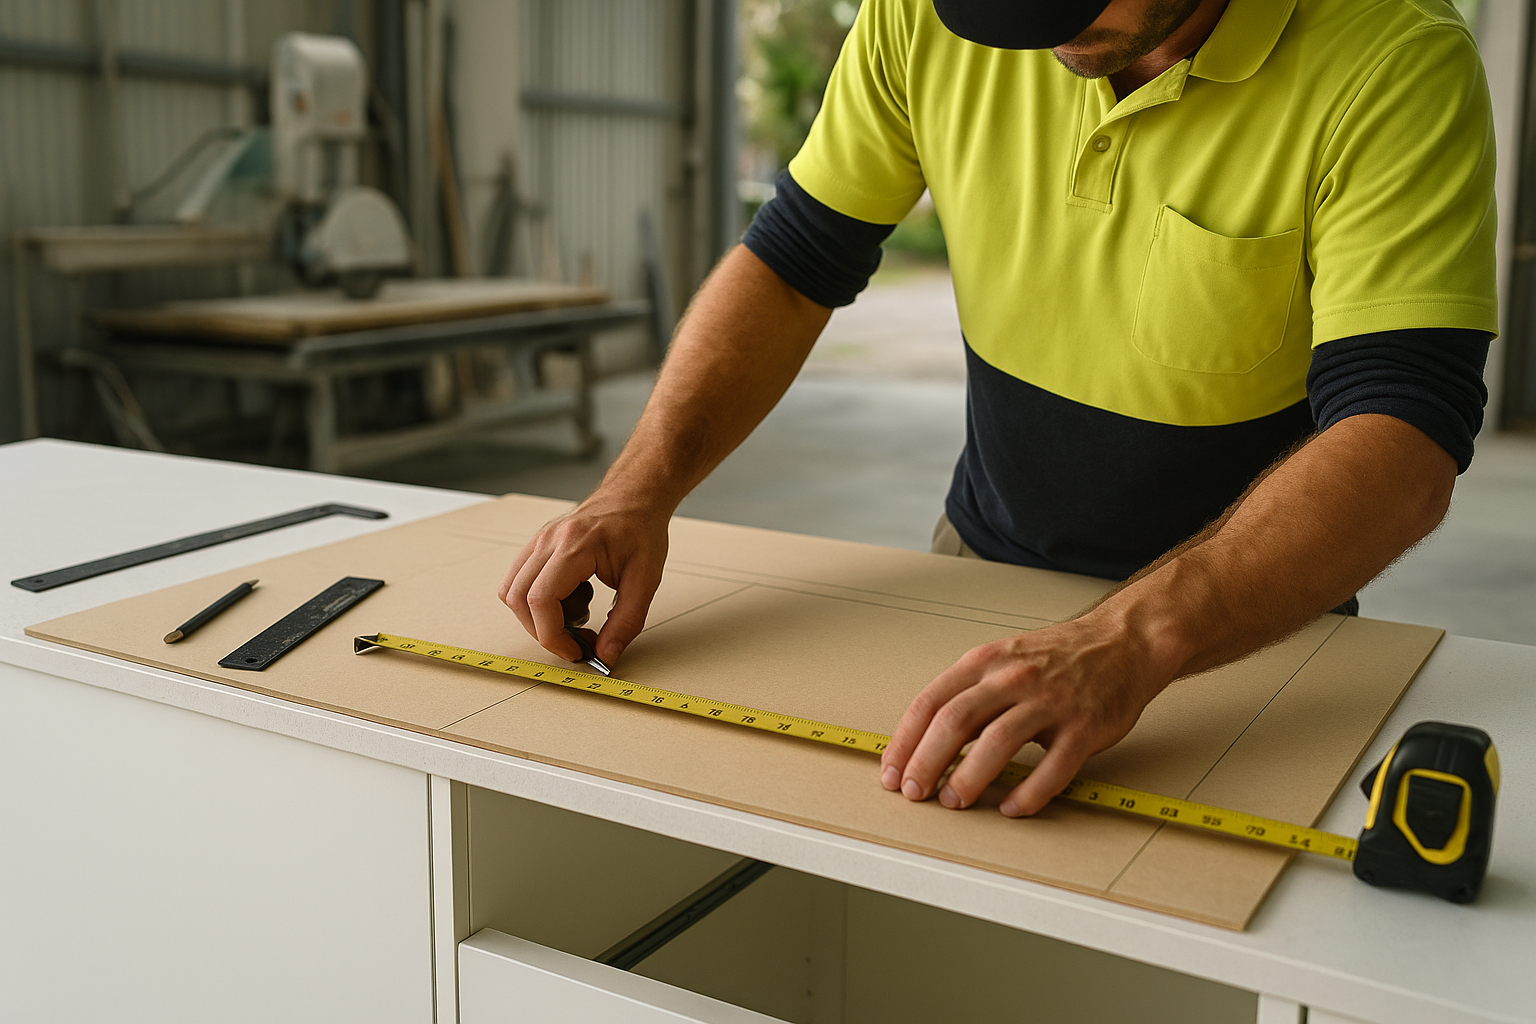
2) Template (on-site measure)
This is the accurate measure used for fabrication. We confirm:
- joins and overhangs
- cut-outs
- waterfall details
- out-of-square walls
Older homes around Brisbane and the Coast often have walls that aren’t square. That’s normal, and it’s why templating matters.
3) Fabrication
We cut, polish, assemble mitred edges (if selected), and prep pieces in the workshop.
4) Installation
We deliver, install, level, join, and finish silicone lines where required.
Install-day access checklist
To avoid delays, we typically need:
- clear access paths (including lift bookings)
- cabinetry installed and secured
- a clear work area
- confirmed parking/loading options
Lead times (what’s realistic)
Lead time depends mostly on:
- colour availability
- schedule capacity
- how quickly appliance specs and cabinetry are finalised
If you have a fixed handover date, narrow colours early and confirm stock before booking template.
Common causes of delays
- cabinets not level or not fixed
- sink/cooktop changes after specs were supplied
- missing appliance specs or power point locations
- access restrictions not flagged early
- slab backorders or supply changes
Cabinet support and substrate
Most long-term problems blamed on the stone are actually support issues underneath.
Key support requirements
- cabinets must be level and securely fixed
- substrate (where used) must be suitable
- overhang limits must be respected (brackets or legs may be required)
If you’re coordinating trades, confirm who is responsible for:
- final cabinet levelling
- fixing end panels and scribes
- dishwasher/oven clearances
Care and maintenance
Engineered stone suits everyday use, but a few habits keep it looking good.
Do
- clean daily with mild detergent and a soft cloth
- wipe spills early (oil, coffee, wine, tea, turmeric, sauces)
- use chopping boards
- use trivets/heat pads for hot cookware and benchtop appliances
In coastal homes, grit and sand can cause fine scratching over time. A quick wipe-down helps.
Don’t
- don’t use harsh chemicals unless the care guide says it’s safe
- don’t use abrasive pads (they can dull finishes)
- don’t place hot cookware directly on the surface
- don’t assume it’s scratch-proof
Everyday checklist (the stuff that causes most issues)
Heat
- Do: use trivets/heat pads under hot pans, air fryers, slow cookers, and portable appliances.
- Don’t: put hot cookware straight onto the bench.
Scratching
- Do: use chopping boards and lift (don’t drag) small appliances.
- Don’t: cut directly on the surface.
Staining
- Do: wipe oils, wine, coffee, tea, turmeric, curry, and sauces quickly.
- Don’t: leave strong-colour spills sitting, especially near joins.
Cleaning products
- Do: stick to mild cleaners and soft cloths.
- Don’t: use abrasives or harsh chemicals that can damage finishes, adhesives, or silicone.
What to do for common spills
- Oil/grease: wipe up, then wash with warm water + mild detergent.
- Coffee/tea/wine/turmeric: wipe promptly, then clean with mild detergent. Repeat if needed (avoid abrasive scrubbing).
Essastone generally doesn’t need sealing like porous natural stone. Follow the care guide for your specific product.
Warranty
Warranty usually has two parts:
- Manufacturer warranty: covers the Essastone material (subject to terms and approved use)
- Workmanship warranty: covers templating, fabrication, joins, and installation quality
If something looks wrong, photos plus a short description usually helps identify whether it’s product, installation, or maintenance.
What’s usually covered (high level)
| Area | Manufacturer (Essastone material) | Workmanship (fabrication/installation) |
|---|---|---|
| Slab/material defects (subject to terms) | Typically yes | No |
| Colour/pattern variation between slabs/batches | Typically not (variation expected) | No |
| Fit, level, and alignment | No | Typically yes |
| Join finish and alignment | No | Typically yes |
| Damage from misuse (heat, impacts, harsh chemicals) | Typically not | Typically not |
Warranty terms can change. Confirm current Essastone warranty details directly with the manufacturer: https://www.essastone.com.au/
Engineered-stone regulations and silica safety
Engineered stone has been a major focus for silica dust safety in Australia. Requirements can change and can differ by state.
For homeowners, the takeaway is simple:
- your fabricator should follow current WHS rules for cutting and handling
- you should expect compliant dust control processes and trained staff
Authoritative starting points:
- Safe Work Australia: https://www.safeworkaustralia.gov.au/
- WorkSafe Queensland: https://www.worksafe.qld.gov.au/
Brand comparisons (high level)
Essastone, Caesarstone, and Smartstone sit in a similar category. In most projects, the deciding factors are:
- the exact colour and finish you want
- what’s available in stock (especially for multi-slab kitchens)
- fabrication and installation quality (joins, waterfalls, cut-outs)
Ready for pricing and colour help?
To price an Essastone benchtop in SEQ, send your plan and a couple of photos, plus:
- preferred Essastone colour(s)
- 20mm or 40mm look (mitred edge)
- sink and cooktop models (if chosen)
- splashback plan (none, upstand, full-height)
Start here: Essastone® benchtops and colours. You can also contact the SEQ Stone team to request a quote or callback, and view recent installs in the Gallery.
FAQs
How much does an Essastone benchtop cost?
It depends on the slab category, how many slabs you need, 20mm vs 40mm mitred look, edge detail, cut-outs, waterfalls, splashbacks, joins, and site access.
Send your plan and a couple of photos (including access) for an accurate quote.
What is an Essastone benchtop best used for?
Kitchens, vanities, and laundries. It suits busy homes where you want a consistent look and a wide colour range.
How do I choose Essastone colours?
View a large sample (or slabs if possible) in your home lighting. Bring cabinet and flooring samples so you can check undertones.
Remember polished finishes and strong daylight can highlight raking light.
Is 40mm stronger than 20mm?
Not automatically. Strength depends on design and support, not thickness alone.
A “40mm” bench is often a 20mm top with a mitred edge build-up.
Can you put hot pans on Essastone?
Best not to. Use trivets or heat pads and avoid placing hot cookware directly on the surface.
Do joins stain?
Joins are bonded with stone adhesives and can be tinted, but they can still show marks if spills are left to sit.
Wipe oils, wine, coffee, turmeric, and sauces early, especially near joins and sink areas.
What edge profiles are available?
Common options include pencil round, bevel, shark nose, and ogee. Availability can depend on the colour and whether you choose 20mm or a 40mm mitred edge.
Do I need a sealer on Essastone?
Usually not. Follow the care advice for your specific product and use mild cleaners.
Can you do waterfall ends and full-height splashbacks in Essastone?
Yes. Planning matters for join lines, vein direction, and cut-outs (including power points).
Can an Essastone benchtop be repaired if it chips?
Small chips on edges and corners can often be repaired, depending on location and colour. Send photos and we’ll advise what’s realistic.
Do you only service the Gold Coast?
We’re based on the Gold Coast and service Brisbane and South East Queensland. Share your suburb with your plan and we’ll confirm availability and timing.

Leave a Reply
Want to join the discussion?Feel free to contribute!