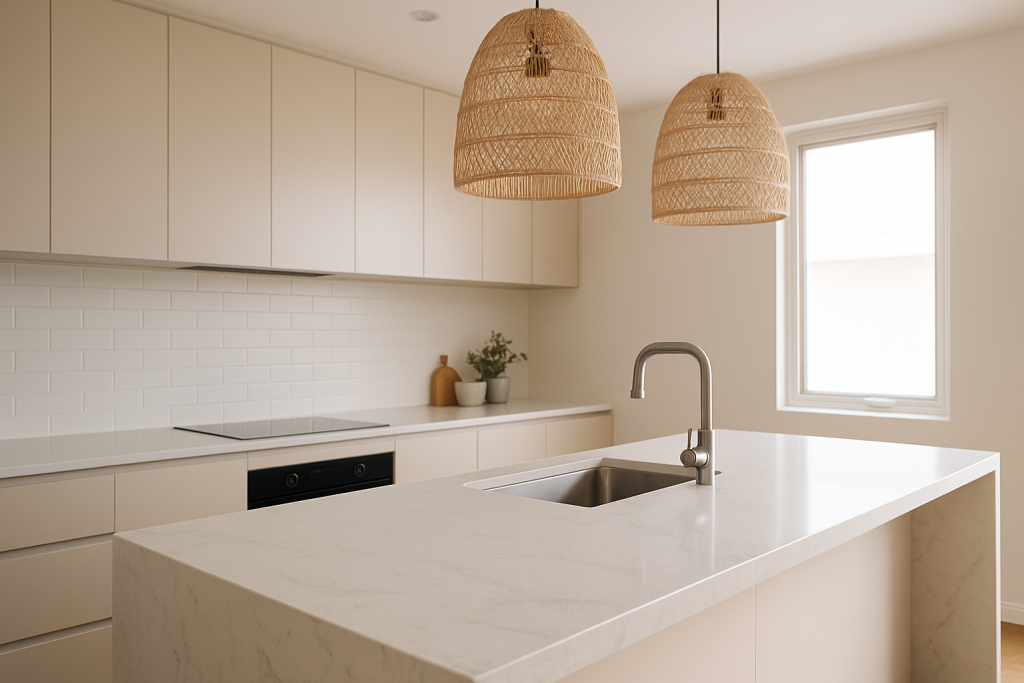
Smartstone benchtops: a practical guide for SEQ kitchens
Smartstone benchtops: a practical guide for SEQ kitchens
Smartstone is a popular engineered stone benchtop in South East Queensland. It’s consistent in colour, hard-wearing for daily use, and comes in a wide range of styles.
This guide covers what actually affects the end result: how your colour looks in natural light, how easy it is to clean, where joins end up, and what can delay your install.
What Smartstone is (and why people choose it)
Smartstone is a quartz-based engineered stone. It’s commonly used for kitchen benchtops, bathroom vanities, and some splashback designs.
People choose Smartstone because it offers:
- Consistent colour and pattern between slabs (helpful for long runs)
- Modern and classic looks
- Good day-to-day durability for busy homes
It’s still a finished surface, not indestructible. The main real-world risks are heat (hot pans and trays) and impacts on corners.
Where Smartstone works best
Smartstone suits most indoor benchtop applications, including:
- Kitchens: islands, perimeter runs, waterfall ends, pantry benches
- Bathrooms: vanity tops (including undermount basins)
- Laundries: work surfaces and tub surrounds
In SEQ, open-plan kitchens with lots of daylight are common. Natural light makes colour, sheen and joins more noticeable, especially on big islands and breakfast bars.
Alfresco and outdoor areas
Smartstone can work in some alfresco layouts, but it depends on heat, sun and weather exposure.
If you’re considering outdoor use, confirm:
- BBQ type
- Distance to burners
- Whether the area is enclosed
- Sun exposure
Rule of thumb: the closer the surface is to direct heat and weather, the more conservative you should be with material choice and detailing.
Smartstone colours: how to choose well
Most colour regrets come down to lighting. A benchtop can look subtle in a showroom and much brighter (or busier) in a sunlit SEQ kitchen.
Use this quick process to shortlist Smartstone colours:
- Check the sample beside your cabinet colour in natural light
- Compare it with your flooring and splashback
- Choose your preferred level of “movement” (quiet vs veined)
- Think about joins and cut-outs early (strong patterns need more planning)
- View more than one sample if you can, and ask about batch/slab references if tone matters to you
SEQ tip: pick a forgiving colour
If your kitchen gets heavy use (kids, lots of cooking, sandy feet), the easiest colour to live with is not always the brightest or darkest.
- Very pure whites and very dark solids can show crumbs, dust and water marks faster
- Mid-tones and lightly patterned colours often hide daily mess better
Finish matters too. A polished mid-tone usually wipes down faster than a heavily textured surface.
Carrara-style Smartstone colours
Carrara-style colours are popular because they work well with:
- White and off-white cabinets
- Timber features
- Matte black, brushed nickel and chrome tapware
They’re often more forgiving than a pure bright white.
Ask to see a larger sample or a full slab photo. Veining can look much stronger across a long island (and on waterfall ends) than it does on a small sample.
Smartstone finishes: polished vs matte/honed vs textured
Finish changes how the same colour looks in your kitchen. It affects glare, fingerprints and how the pattern reads.
This matters most in SEQ homes with big windows and strong daylight.
Polished
- Highest sheen
- Whites look brighter and patterns look crisper
- Usually the quickest wipe-down
- Can show reflections and smudges under downlights or strong daylight
Matte / honed
- Softer, lower-sheen look
- Reduces glare (handy under pendants)
- Can make veining look more natural
- Dark colours may show fingerprints more (especially near sinks and seating)
Textured
- Helps hide reflections and some daily marks
- Suits timber and natural finishes
- Can take more effort to clean if grime builds up in the texture
If easy cleaning is your priority, choose a finish that suits how you actually use the kitchen. Textured finishes look great, but they reward regular wipe-downs.
20mm vs 40mm: choosing the right thickness
Thickness changes the look, the engineering, slab yield and the price.
20mm
- Most common choice
- Clean, modern profile
- Often suits tighter budgets
40mm (the “thick” look)
- More solid, substantial appearance
- Popular for large islands, waterfall ends and breakfast bars
- Can suit more detailed edge options
Large islands are common in SEQ. A 40mm look often suits the scale, but overhang support still needs to be planned (especially where people sit and lean).
40mm laminated edge vs mitred edge
Both are standard ways to get a thicker look.
- 40mm laminated edge: a 20mm slab with an extra strip bonded to the front edge. Cost-effective, but a fine seam line may be visible in some colours or lighting.
- Mitred edge: pieces are cut and joined at an angle so the join is less obvious. Often chosen for premium marble-look patterns and waterfall ends.
Both are strong when fabricated properly. The main difference is how the edge looks up close.
Edge profiles: look, cleaning and chip resistance
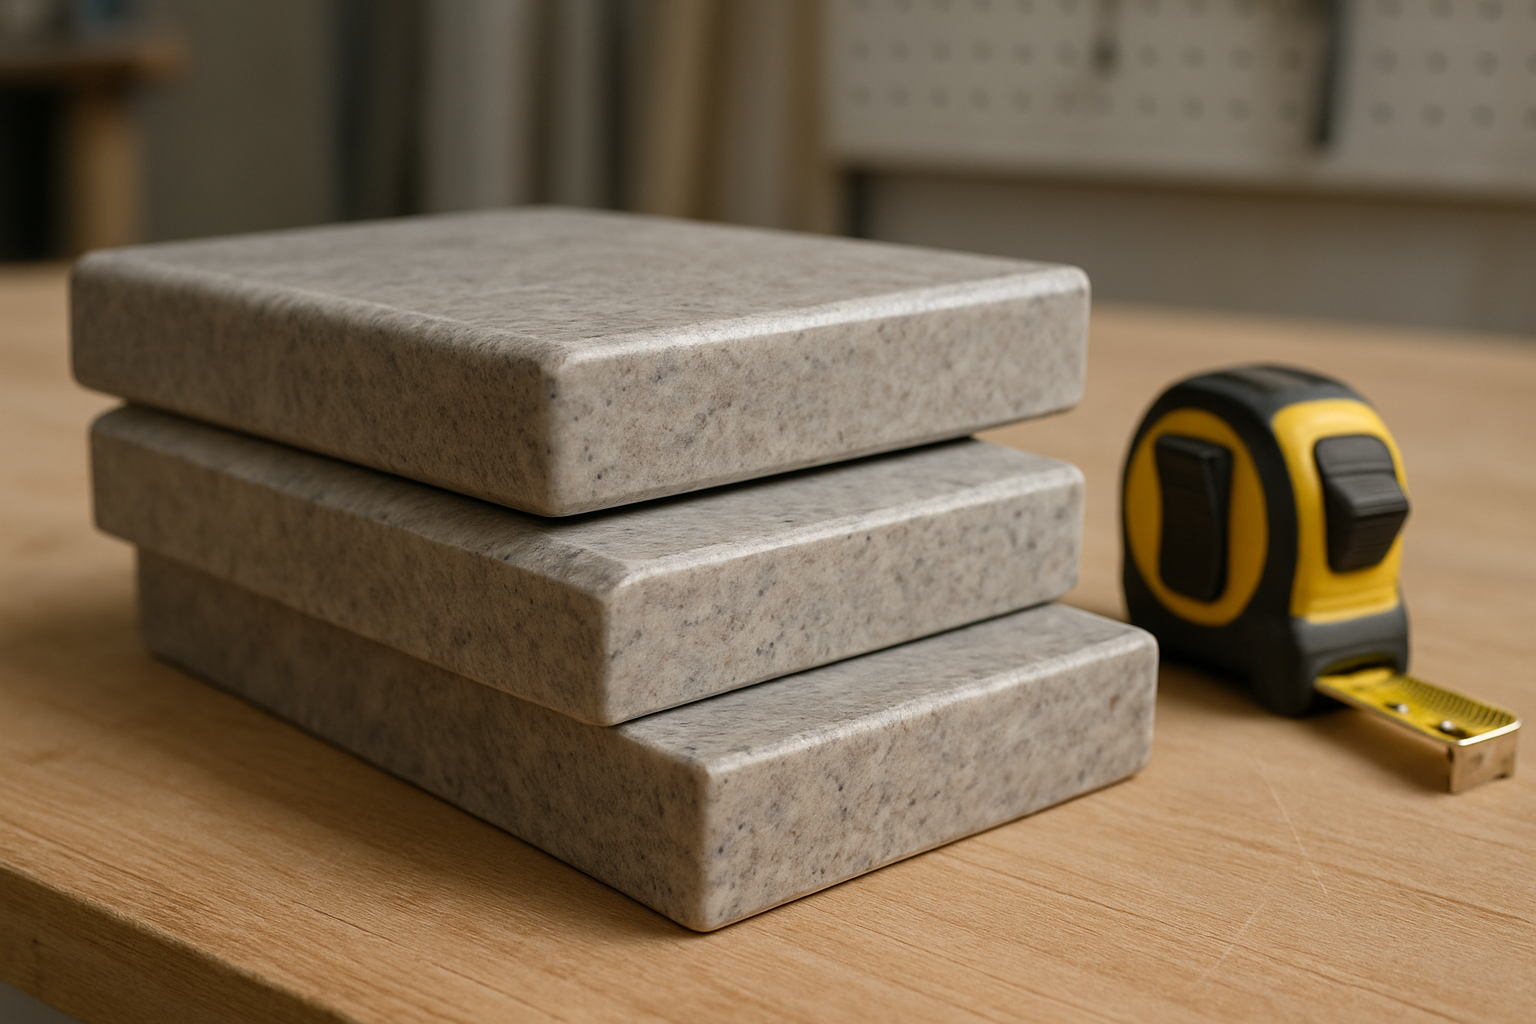
Your edge profile affects style, cleaning and how corners handle knocks.
- Pencil round: soft feel and often more forgiving for minor chips
- Arris (square): sharp modern line, but corners can chip more easily if knocked
- Bevel: modern look with a safer, harder-wearing edge
- Mitred edge: usually for a 40mm look (more fabrication detail and cost)
For busy family kitchens, slightly softened edges are often the practical choice, especially on island corners.
Waterfall ends: what to plan early
A waterfall end is where the benchtop continues down the side of the cabinetry to the floor.
Plan these early:
- Vein direction: do you want the veining to flow down or wrap around?
- Mitres and joins: most waterfall ends need corner joins
- Floor levels: uneven floors can show at the bottom if not scribed correctly
Waterfalls also affect slab yield and join placement. Getting the cabinet plan early helps reduce unnecessary joins and awkward pattern breaks.
Joins (seams): where they go and how we keep them neat
Most kitchens need at least one join. Joins are usually required due to slab size limits, L/U layouts, and site access.
In SEQ, access can be the deciding factor (stairs, tight hallways, townhouse turns, lift sizes, and where a truck can park).
Common join locations
- Near the cooktop run
- In corners and L-shapes
- At the start or end of an island (often out of main sightlines)
How we reduce join visibility
- Plan joins early (layout + access + slab size)
- Align patterns where possible on veined colours
- Keep joins tight and finish/polish carefully
A fine join line can still be visible in some light, especially strong daylight across the bench. Good planning is what makes it look intentional.
Cut-outs and sink details
Cut-outs must be confirmed before fabrication. Changes after templating can cause delays, extra site visits, or rework.
What needs to be locked in
- Sink model and mounting method
- Cooktop model and clearances
- Tap holes (including filtered water and soap dispensers)
Renovations often need extra coordination. The cabinet maker, plumber and stone cut-outs must all match what’s actually being installed.
Undermount sinks
Undermount sinks look clean and make wipe-down easier.
They also need planning:
- The sink must suit undermount installation
- The cabinet needs the right support and clearances for fixings
- Treat the stone edge with care (avoid heavy knocks with pots and cast iron)
Drainer grooves
Drainer grooves can be useful, but they add fabrication detail.
Keep in mind:
- Grooves can hold water if not wiped
- Matte and textured finishes may show retained water more
- A flat drain area or removable drainer tray can be lower maintenance
Splashbacks: where stone works (and where it may not)
Smartstone is mainly used for benchtops. It can be used as a stone splashback in some designs.
Check these early:
- Heat near cooktops: engineered stone is generally not recommended for direct high-heat exposure
- Power points: positions and cut-outs must be confirmed before cutting
- Full-height vs standard height: full-height looks clean but uses more material and needs careful planning around windows and cabinets
If you want a stone look behind the cooktop, confirm the safest and most practical option for your layout.
Measure to install: the typical process
A smooth install comes down to accurate templating and locked-in appliance specs.
-
Final measure / templating
- Done once cabinets are installed, fixed off and level
- Can be digital (laser) or mechanical (physical templates)
-
Shop drawings (if used)
- Confirms joins, overhangs, waterfall ends and cut-outs before cutting
-
Slab booking / confirmation
- Colour and finish are locked in
- Popular colours can sell out, so earlier booking helps
-
Fabrication
- Cutting, polishing, edge profiling
- Mitres/laminations and all cut-outs completed to spec
-
Install day
- Dry-fit, join work, final finish
- Access and logistics can affect timing (stairs, lifts, crane needs)
If you have a fixed handover date, share it early so timelines can be confirmed.
Site readiness checklist (to avoid delays)
Before final measure / templating
- Cabinets installed, secured and level
- Overhangs and support confirmed (especially island seating)
- Cooktop model confirmed
- Sink supplied/confirmed (especially undermount)
- Finished wall linings, bulkheads and window details accounted for
- Tile thickness and splashback plan confirmed (if relevant)
Before install day
- Clear access path to the kitchen (doors, hallways, stairwells, lifts)
- Parking/loading plan confirmed (common in units and townhouses)
- Plumber/electrician coordination planned (disconnect/reconnect)
- Cooktop and sink on site (if required)
SEQ-friendly trade notes
- Cabinet maker: end panels and fillers installed; dishwasher/oven gaps confirmed; anything that changes the final bench size completed
- Plumber: sink and tap set confirmed; filtered water/instant hot requirements noted; waste position checked
- Electrician: cooktop model confirmed; island pop-ups confirmed (if any); splashback GPO locations checked before cutting
- You/Builder: confirm overhangs, seating layout, waterfall ends, and any upstands/splashbacks; note access constraints
What affects the cost of Smartstone benchtops
These are the main cost drivers:
- Total square metres (length and depth)
- Colour/price tier
- Thickness (20mm vs 40mm look)
- 40mm build method (laminated vs mitred)
- Edge profile choice
- Number of cut-outs (sink, cooktop, tap holes, drainer grooves)
- Waterfall ends and panels
- Number and complexity of joins
- Splashbacks (especially full-height stone)
- Site access (stairs, lifts, tight corners, crane needs)
For common SEQ designs (big islands, waterfall ends, long breakfast bars), material use can climb quickly. Slab yield (how pieces fit on a slab) often drives joins and cost.
What to send for an accurate Quote
- Plan or cabinet shop drawing
- Smartstone colour shortlist
- A few site photos (phone photos are fine)
Lead times: what to expect
Most delays happen when the kitchen isn’t ready for final measure.
A typical run is:
- Confirm colour and scope
- Final measure / template after cabinets are fixed and level
- Fabrication
- Install once trades are ready
Fabrication after final measure is often around 3–5 working days, depending on colour, workload and slab availability.
In SEQ, timing can also be affected by:
- Slab availability (especially popular whites and marble-look colours)
- Apartment booking windows (lift reservations and loading zones)
- Tight access in townhouses or older homes
If you’re working to a tight handover, lock in your colour early even if templating is still a week or two away.
Care, maintenance and heat resistance
Smartstone is easy to live with when you treat it like a finished surface.
Daily cleaning
- Wipe with a soft cloth or sponge and mild detergent in warm water
- Dry if you want fewer water marks (common on dark colours and matte finishes)
If you’re near the coast, a quick wipe after sandy food prep helps avoid a gritty feel.
Avoid
- Abrasive pads and powders
- Strong acids/alkalis and harsh chemicals
- Cutting directly on the surface (use a chopping board)
Spills and stains
- Clean spills early (oil, wine, coffee, turmeric)
- If it dries on, soften with warm soapy water and wipe
- Avoid metal scrapers
Heat (important)
- Do not place hot pots, pans or oven trays directly on Smartstone
- Use trivets or heat pads
- Thermal shock can damage engineered stone
Smartstone vs Caesarstone vs Essastone
In real homes, the decision usually comes down to:
- Colour range and how the pattern looks across a full slab
- Finish options
- Availability within your timeline
- Budget and slab tier
If you want to compare like-for-like, price a few colours across ranges.
- Caesarstone options: https://seqstone.com.au/caesarstone/
- Essastone options: https://seqstone.com.au/essastone/
Compliance and safety
Engineered stone rules in Australia have changed. The practical takeaway is simple: choose a supplier who fabricates responsibly, follows current requirements, and can provide the right documentation for the material supplied.
Ask if you want to confirm what’s suitable for your project.
Choosing a stone mason: what matters beyond the slab
The finish you see every day depends on planning and workmanship.
What to look for:
- Sensible join placement for your layout and pattern
- Clean cut-outs and neat polishing around sinks and cooktops
- Clear coordination with cabinet makers and plumbers
- A careful install team and a clear process
If you’re comparing suppliers in Brisbane, the Gold Coast or the Sunshine Coast, ask how they handle templating, join planning, access constraints and timelines.
Ready to price your Smartstone benchtop?
If you have plans, you can usually get a quote quickly.
- View the Smartstone range: https://seqstone.com.au/smartstone/
- Request a callback and quote: https://seqstone.com.au/
- Browse real installs: https://seqstone.com.au/gallery/
To get started, send your plan/measurements plus 2–3 photos. Also confirm:
- 20mm or 40mm look
- Laminated 40mm edge or mitred edge
- Undermount sink or other sink style
FAQs (quick answers)
Are Smartstone benchtops suitable for kitchens on the Gold Coast?
Yes. They’re widely used across SEQ for a consistent look and good daily performance. Wipe spills early and keep hot cookware off the surface.
What Smartstone finish should I choose?
- Polished: brighter, easiest wipe-down, more reflections
- Matte/honed: softer look, less glare, can show fingerprints in dark tones
- Textured: hides reflections, can take more effort to clean
If your kitchen gets a lot of daylight, view the same colour in both polished and matte.
What’s the difference between 20mm and 40mm Smartstone?
20mm is the standard thickness. A 40mm look is usually achieved with a laminated edge or a mitred edge, which affects cost and whether an edge seam may be visible.
Where do joins go in Smartstone benchtops?
Joins are placed based on access, slab size and layout. Common spots are near cooktops, in corners, or where they’re least noticeable.
Are Smartstone benchtops suitable for undermount sinks?
Yes. The sink model, cabinet support and final cut-out position must be confirmed before fabrication.
Can I use Smartstone for a stone splashback?
Sometimes. Clearances and heat exposure need to be checked, especially behind cooktops.
Do Smartstone benchtops stain or scratch?
They handle normal kitchen use well, but spills left too long can mark, and cutting directly on the surface can scratch it. Clean early and use chopping boards.
Can I put hot pots on Smartstone?
No. Use trivets or heat pads. Sudden high heat can damage engineered stone.
What affects the price of a Smartstone benchtop?
Colour tier, square metres, thickness and edge build, edge profile, joins, waterfall ends, splashbacks, cut-outs and site access.
How does Smartstone compare with Caesarstone and Essastone?
They’re all reputable engineered stone ranges. Differences are usually colours/finishes, availability, price tiers, and how patterns look over long runs and joins.
Is “Smarstone” the same as Smartstone?
Yes. It’s a common misspelling. Confirm the exact Smartstone colour name and finish when quoting.
Can you match a Carrara look in Smartstone?
Often, yes. Check how the veining reads in your lighting and plan joins so it looks intentional across the kitchen.
Related reading: Click Here